
Export echograms as images
After a sounding has been completed, it is possible to export echogram, water column information (also called return echo envelope data), or sub-bottom data (when available) as an image file. Multiple output formats such as PNG, JPG, GIF, TIF, and BMP are supported. The resulting image files will be put together into a single folder (one file for each sounding). The files can be edited, or copied into your reports directly.
NOTE: This feature was added in version 9.0 of Hydromagic Survey. If you encounter difficulties generating these image files, please run the sounding wizard again as your sounding data might be in an older format. Running the sounding wizard will update the soundings to version 9.0 compatible sounding files without altering the data.
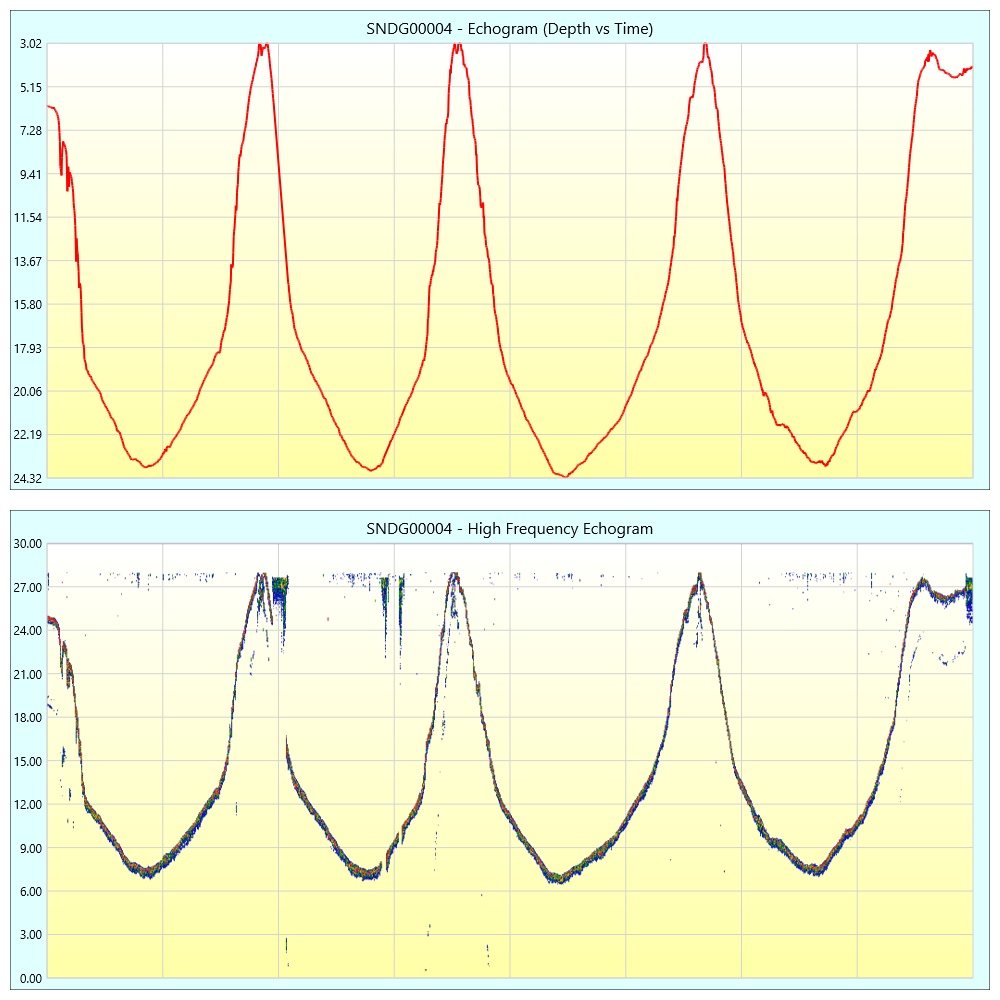
Example of a digitized depth echogram and return echo envelope combined in a single image file.
Echogram export tool
To start exporting echogram data as images, locate the "Soundings" folder in the "Project Explorer", which will be in most cases on the left side of the screen. Right click the folder and select the "Manage Soundings..." option from the popup menu that appears to launch the "Sounding manager".

Click the "Export Echogram" button in the "Soundings Manager".
To start the echogram export tool, select the soundings you want to export and click the 'Export Echogram' button in the toolbar. The echogram export tool will now be displayed. In this tool, you select the location for the exported images, the image format, soundings, and the echograms you want to export.
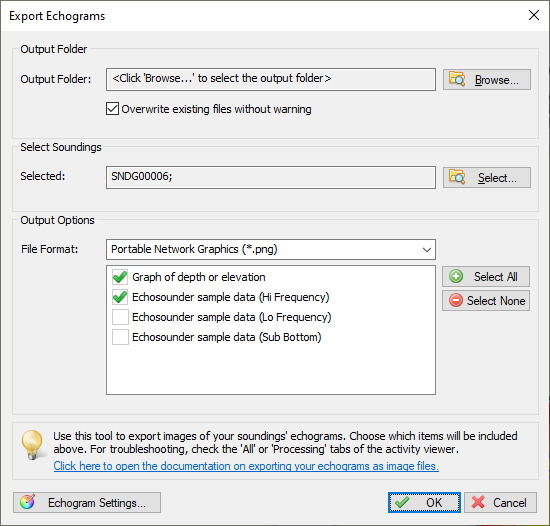
Select the output folder, soundings, echograms and the file format and click "OK" to export the data.
Configuring the export settings
Prior to exporting the images, there are some options to configure:
Output Folder
Click the 'Browse...' button to select the folder in which the image files will be written. This can be a folder under your Hydromagic project root, another location on your hard drive, or even a network share. After selecting a new folder it will be displayed in the dialog. The dialog will also remember the file location for the next time you use this tool.
Select Soundings
By default, the soundings selected in the sounding list will be displayed here. Using the 'Select...' button, you can alter this selection.
File Format
Select the file format of your choice for the creation of the image files. Supported image formats include:
- Graphics Interchange Format (*.gif);
- Portable Network Graphics (*.png);
- JPEG Image Files (*.jpg);
- Tagged Image Format Files (*.tif);
- Windows Bitmap Files (*.bmp).
Selected Echograms
Check the items you wish to export. The software doesn't detect which items can be exported, so all possible options are displayed. When a type of echogram is not available for your sounding, an empty frame stating "No Data" will be inserted into the image file.
Echogram Settings
To alter the way the sample data (echo sounder envelope data) is displayed, click the 'Echogram Settings...' button. You can select another color schema, range or offset here. Note that these settings are shared with the echogram digitizer and real time echogram displays.
Starting the image export process
Click the "OK" button to start the export process. Depending on the number of soundings and the selected items, this will take up to a minute. When ready, the folder where the files are written will be opened so you have immediate access to the images.
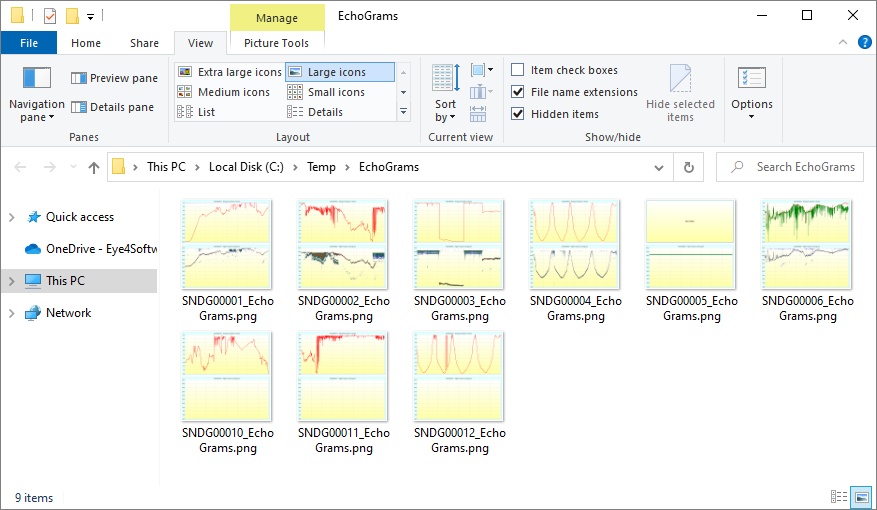
When exporting echograms for multiple soundings, they are written into the same folder on your disk.
Video Tutorial
The following YouTube video tutorial shows how to export echogram data as image files in Hydromagic. Click below to play the video. When you like the video, please click the like button and subscribe so you will receive an update when new video tutorials on Hydromagic are uploaded.
Export echogram data as image files in Hydromagic