Layer properties and display options
In Hydromagic, each map or matrix has its own layer which contains the map itself, but also information on the type of map, the boundaries, dimension, scale and other meta-data. The layer properties dialog allows you to view this information and to adjust display options for raster maps, such as opacity and brightness.
You can access this dialog by right-clicking the map or matrix in the project explorer and selecting the 'Map Properties' option from the context menu:
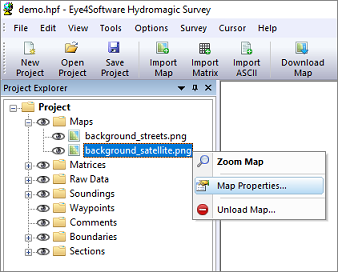
Select the "Map Properties..." option from the context menu.
Layer Meta-Data
The first part of the dialog shows information about the layer, such as image size, scale, map boundaries, file name, and layer type:
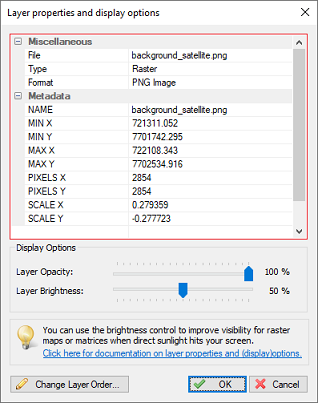
The layer properties window shows map information and meta-data
Layer Display Options
The layer display options allow you to adjust the display settings for raster and matrix map images. This setting is disabled when using this dialog for vector maps. Be careful when using the brightness option on matrix map images, as it will distort colors, causing the depth colors displayed to no longer match the color legend.
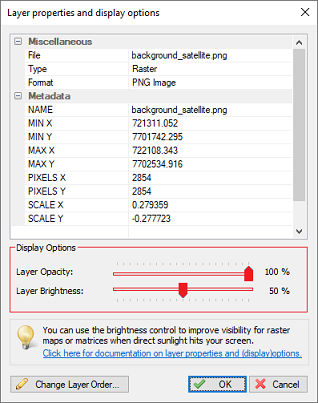
Use the sliders to adjust display options like brightness and opacity.
Layer Opacity
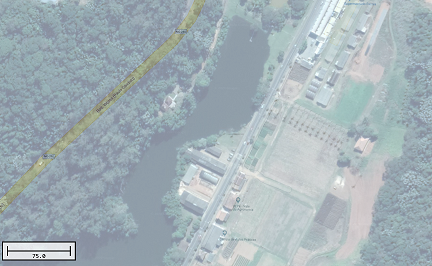
By default, the opacity of a layer is 100 percent, meaning it will fully cover the background color or layers behind it. By decreasing the opacity value using the slider, the layer will become more transparent so layers which are hidden after it will 'shine through', as shown in the example below. The opacity is stored in your project file, so this setting is not volatile. When moving the slider, the new setting is applied instantly, allowing you to see the result while adjusting the slider.
 |
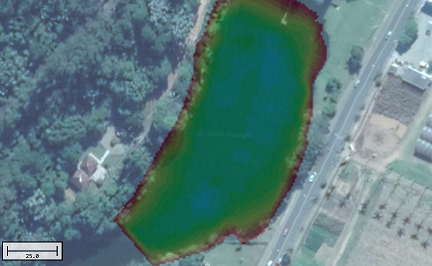 |
| Partially transparent satellite image over a street map | Partially transparent satellite image over a matrix |
Layer Brightness
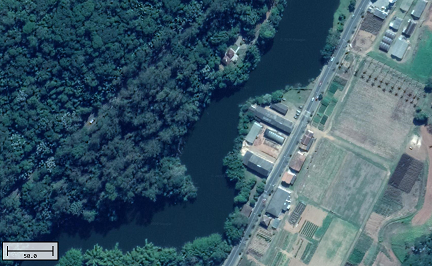
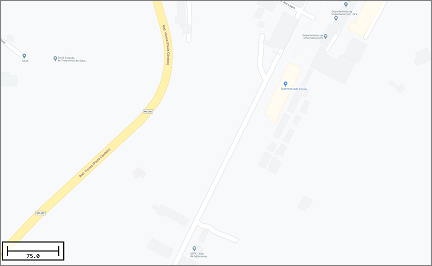
The layer brightness option adjusts the brightness of your background maps. This option is provided mainly to improve the visibility of satellite images when you are using your laptop outside on the boat when it is sunny weather. When you are using street maps, you can decrease brightness to have a better view of overlays such as map boundaries and the active route. You can adjust brightness value by using the brightness slider. When moving the slider, the new setting will applied instantly, so you can see the result while adjusting the slider. The brightness setting will be stored in your project file. The default value for brightness is 50 percent.
 |
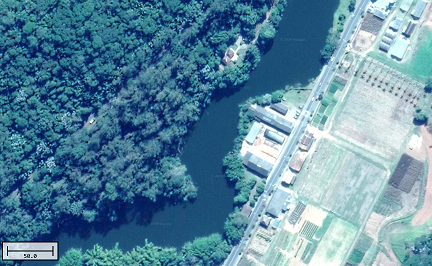 |
| Satellite image with default brightness. | Satellite image with increased brightness. |
 |
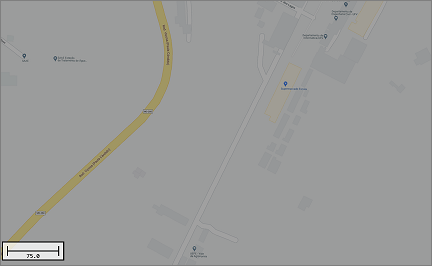 |
| Street map image with default brightness. | Street map image with decreased brightness. |
Layer Order
In addition to setting the layer opacity to show multiple layers at once, you can adjust the layer drawing order by clicking the "Change Layer Order..." button". By default, the most recently imported, downloaded, or generated map will be displayed on top of other maps. You can change this order using this tool.
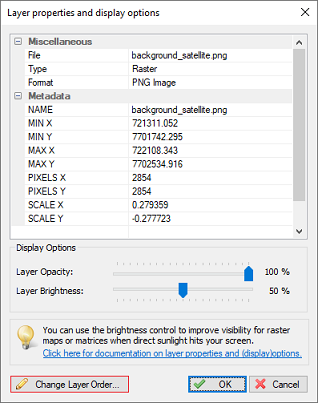
To change the layer drawing order, click the "Change Layer Order..." button.
Video Tutorial
The following YouTube video tutorial demonstrates how to use map transparency in Hydromagic. Click below to play the video. When you like the video, please click the like button and subscribe so you will receive an update when new video tutorials on Hydromagic are uploaded.
Use transparency to display multiple maps at the same position.
