
Export to ESRI shape file format
After a sounding has been completed, it is possible to export both the background map (vector maps only), and the regularly spaced sounding files (matrices) in ESRI shape file format, for example, for further processing in other software packages which support the ESRI shape file format.
ESRI Shape files are supported in most GIS packages, including QGIS, ESRI and many more. After you have created a matrix of your sounding, sections, or map, you should see something like this:
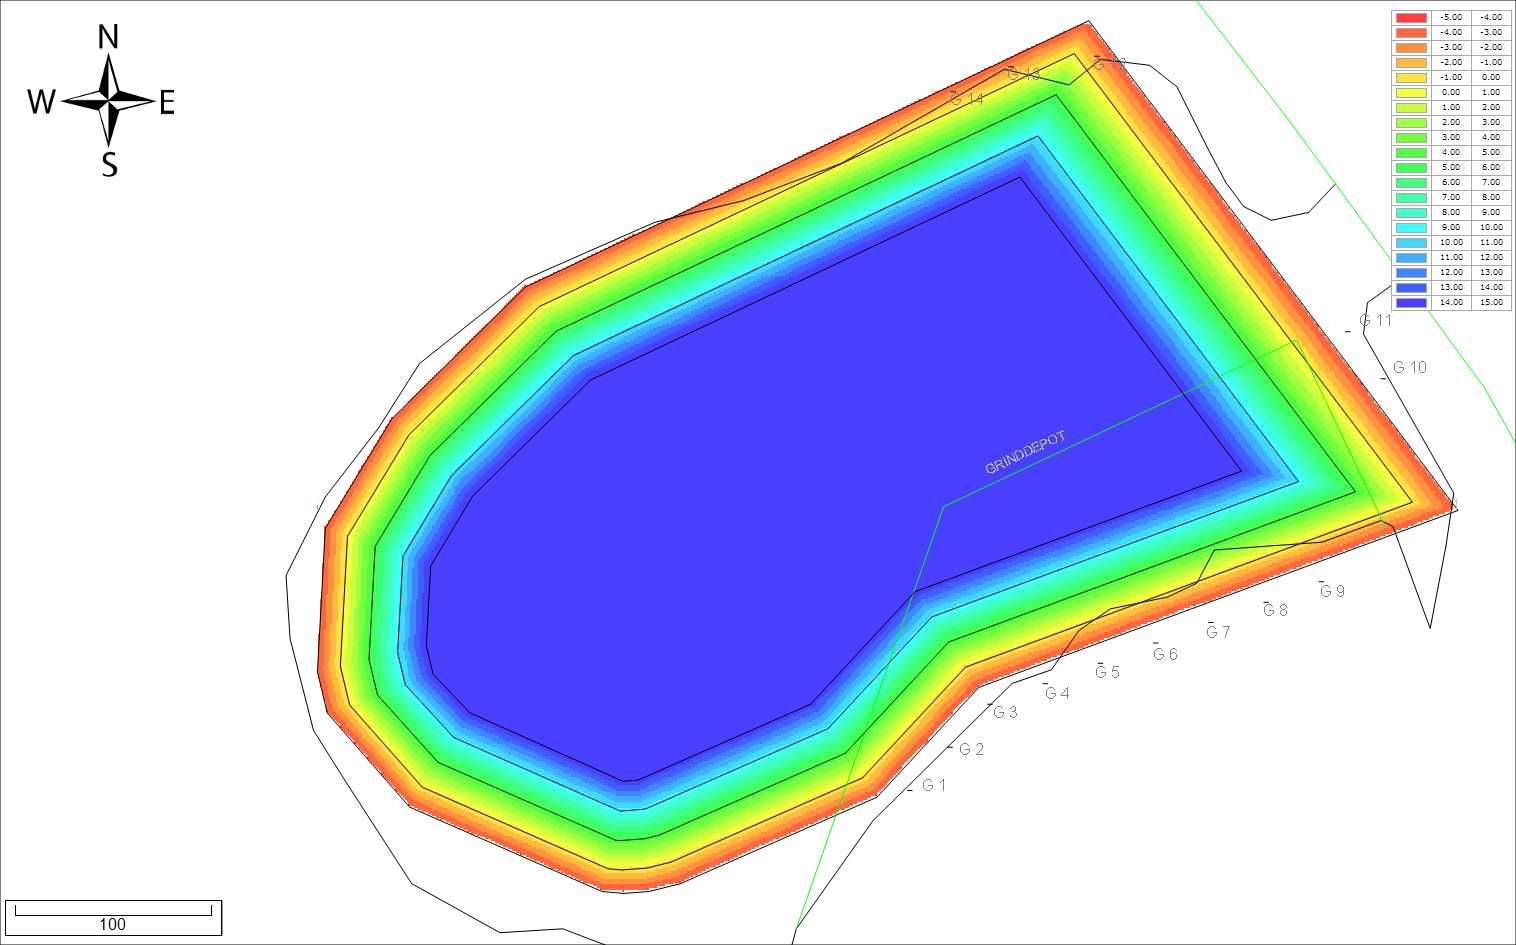
Example of a matrix file generated in Hydromagic.
Starting the ESRI Shape export option
The ESRI Shape export option can be started by selecting 'Export' => 'Export SHP Data...' from the 'File' menu as shown below:
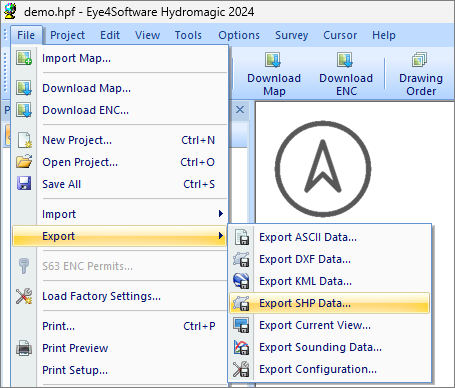
The ESRI shape export tool can be launched from the menu.
Select items
First, you have to select the items you wish to export as Shapes. The following Hydromagic objects can be converted to ESRI shape files:
- Maps (vector maps only);
- Matrices;
- Planned Survey Lines (Sections);
- Raw data files;
- Soundings;
- Boundaries;
- Comments;
- Interval log files;
- Waypoints.
Enable the checkbox in front of the objects you want to include in the final ESRI Shape file. To reset the selection, click the 'Select None...' button; to select all objects, click 'Select All...'. By clicking the 'Select Visible...' button, only the project items that are currently visible will be selected.
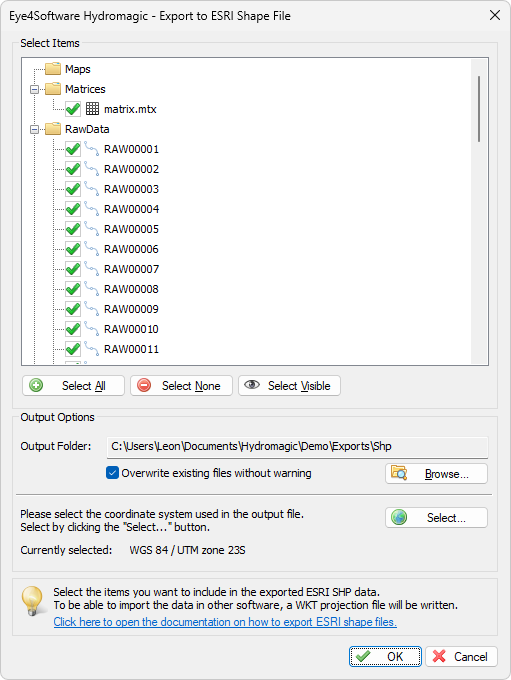
Use the ESRI shape export function to save your project data in shape file format.
ESRI Shape files can only contain point, line and polygon features. Hydromagic converts the selected data to one of these feature types automatically. For depths, the Z-coordinates of the point, line or polygon vertices are used.
Note that only vector maps can be converted to ESRI Shape format. It is not possible to embed raster maps into an ESRI Shape file. For a list of supported vector formats, please have a look at this document.
Output folder
Next, select an output folder for the ESRI Shape files. Click the 'Browse...' button to select a folder. Note that since an ESRI shape file can hold only one feature type (point, line, or polygon), multiple files will be written; hence it asks for an output folder instead of an output file. For each type of project item in Hydromagic (boundaries, maps, sections, raw data files, waypoints, comments, or interval log files), a separate shape file will be generated, so it can be imported into your GIS software in different layers.
If one or more files already exist in the selected folder, you will be prompted (unless the 'Overwrite existing files without warning' checkbox has been checked). Hydromagic will write a '.shp', '.idx', '.dbf', and '.prj' file for each project item.
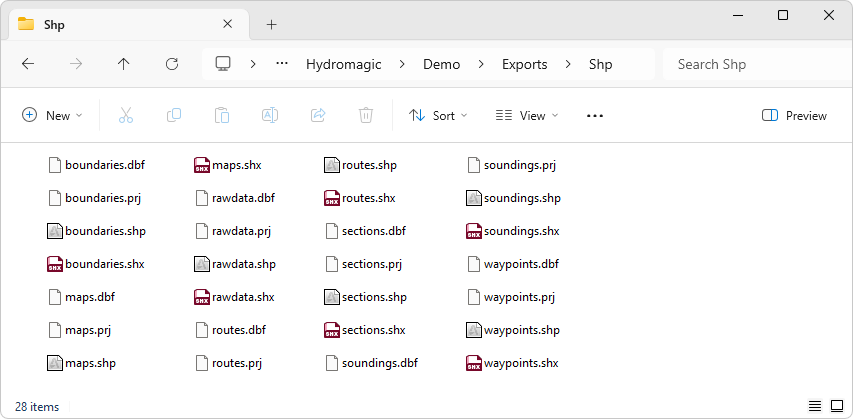
Multiple shape files will be written in the selected folder.
Map Projection
It is possible to write the ESRI Shape data using a map projection different from the one used in your current project. To do so, click the 'Select...' button to choose the map projection for the output file. This projection will also be used when writing a projection file (.prj) for each exported shape file. To select the format in which the projection file is written, please see the "Advanced data processing options" page.
Starting the export process
When all parameters are set up correctly, click 'OK' to start the export. A progress indicator will appear at the bottom at the screen, and the window will close after a couple of seconds. You can now open the ESRI Shape file in most GIS programs. It is also possible to use the generated ESRI Shape file(s) as background map(s) in Hydromagic:
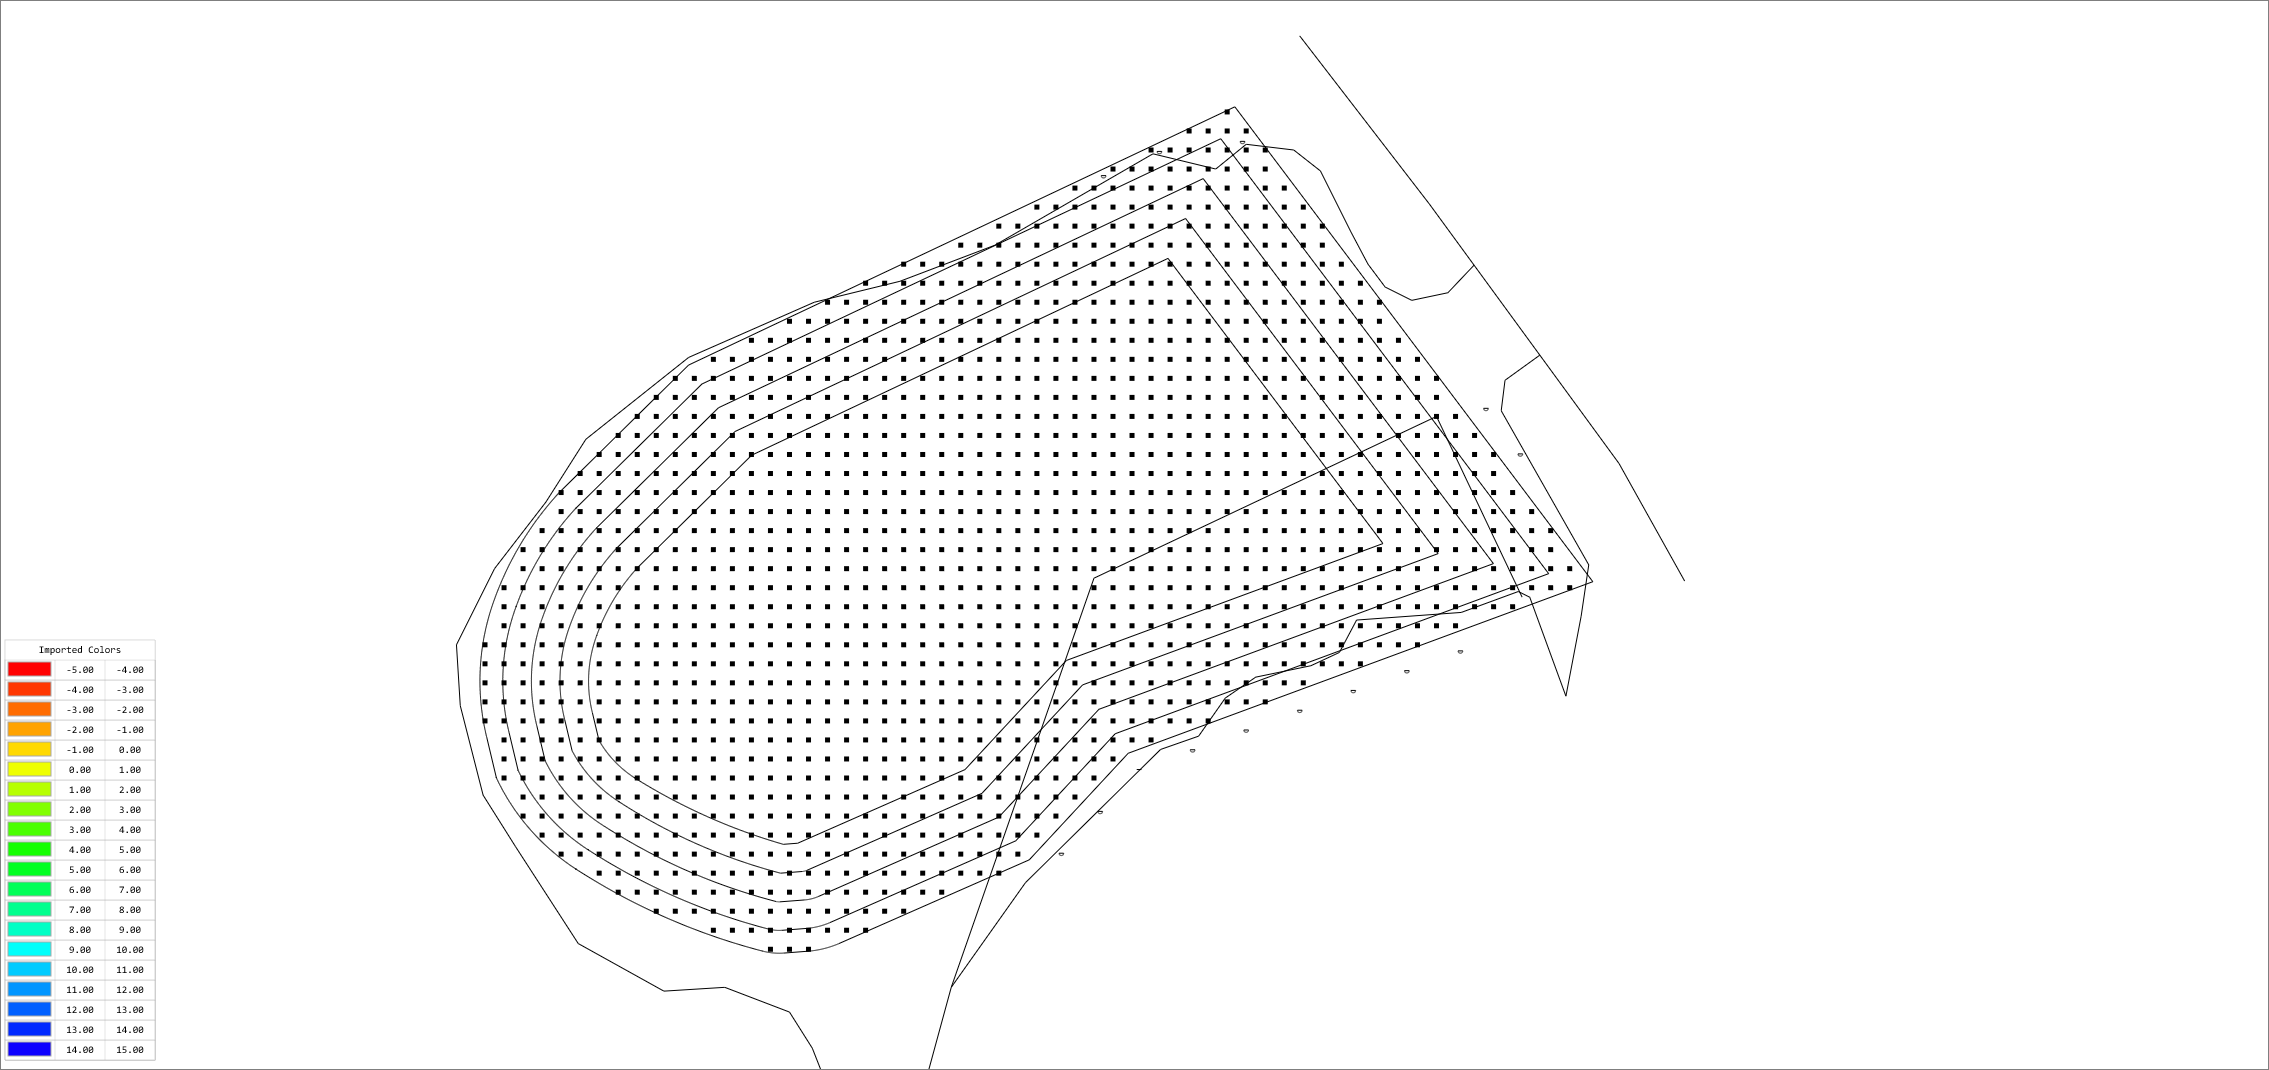
The map and matrix example after being exported as an ESRI shape file Each point is a matrix depth (spacing 10 meters).
Video Tutorial
The following YouTube video tutorial shows how to export Hydromagic project items as ESRI shape files. Click below to play the video. When you like the video, please click the like button and subscribe so you will receive an update when new video tutorials on Hydromagic are uploaded.
Hydromagic can export project data as ESRI shape files.