
Adding maps to your project
When starting a new project, it is recommended to load a map of the survey area. The map can then be used as guidance to set up your boundaries, cross sections and routes. Hydromagic supports a wide range of both vector and raster map formats, including:
- S-57 Electronic Nautical Charts;
- S-63 Electronic Nautical Charts;
- ESRI Shape Files;
- ARC/INFO Export Files;
- ARC/INFO Generate Files;
- ARC/INFO binary coverage files;
- ARC/INFO ASCII grid files;
- Atlas BNA boundary files;
- BSB nautical maps (version 3);
- GeoTIFF files;
- AutoCad DXF files;
- MicroStation DGN files;
- PNG,GIF,JPEG and BMP image files;
- USGS Digital Line Graph files;
- OpenStreetMap XML files;
- IDRISI vector files;
Downloading maps
In case no map data is available for the area to be surveyed, you can download maps from web sources automatically by entering the map's boundaries. How to do this is discussed in more detail in the chapter "Download Maps".
Creating a new project
Before you can import or download background maps, you must either load an existing project or create a new one. To create a new Hydromagic project, select the 'New Project...' option from the 'File' menu, fill out all required fields, and click 'OK'. It is important to provide the correct projection for your new project, because you will not be able to change this at a later time.
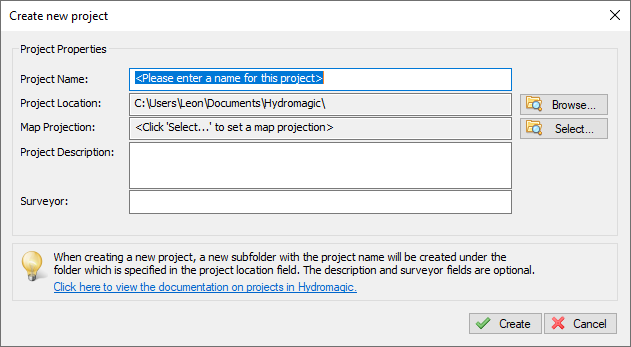
You must create or open a project before you can import maps.
Import maps
Maps are imported into the project, meaning that the next time you open the project, the map will be loaded automatically. To import a map to the project, right-click the 'Maps' folder in the 'Project Explorer' and select the 'Import Map...' option. If the 'Project Explorer' is closed, you can also import a map using the menu bar by selecting 'Import Map...' from the 'File' => 'Import' menu. You can also click the 'Import Map' button in the toolbar.
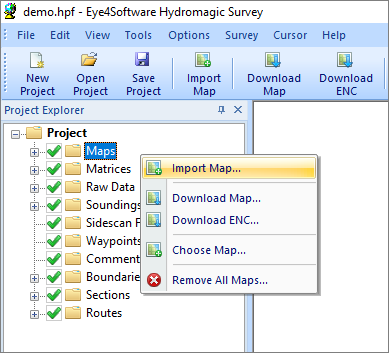
Right click the "Maps" folder in the "Project Explorer"
to add a new map to the project.
Selecting Files
A file open dialog will be presented. By default all supported map formats are displayed. You can select one or more maps and click "OK" to load them into the project. If you select a file that is not already present in the 'Maps' folder of your Hydromagic project on the disk, it will ask whether you want it copied to the 'Maps' folder. It is recommended to do this; otherwise, you will lose the background maps when transferring the Hydromagic project to another computer.
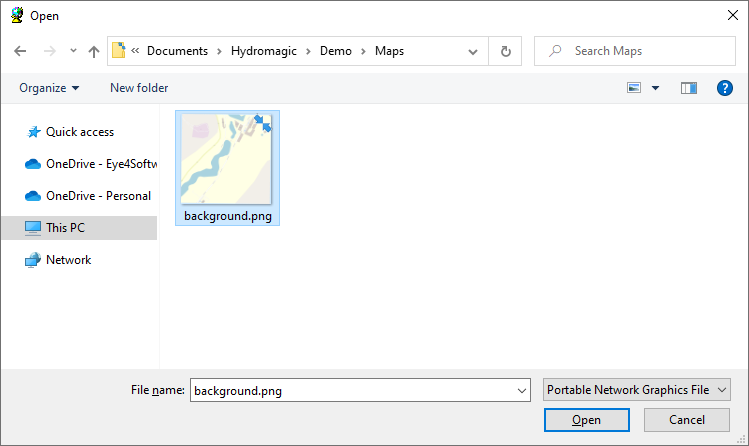
Select the file format and file name(s) for the files you want to import into the loaded Hydromagic project.
Loading the selected map(s)
After selecting one or more map files in the file selection dialog, click the "OK" button to load and add the files to the project. When no file type is set in the file open dialog, and the software doesn't recognize the map format, it will ask you as shown below. In this case select the correct file format for the selected files and click "OK".
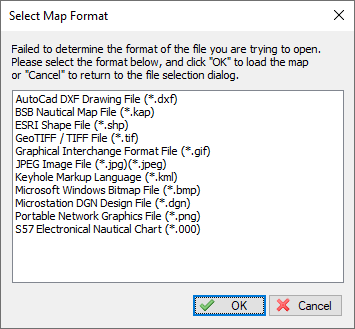
When the file format isn't set and the file extension unknown,
Hydromagic may ask you for the file format.
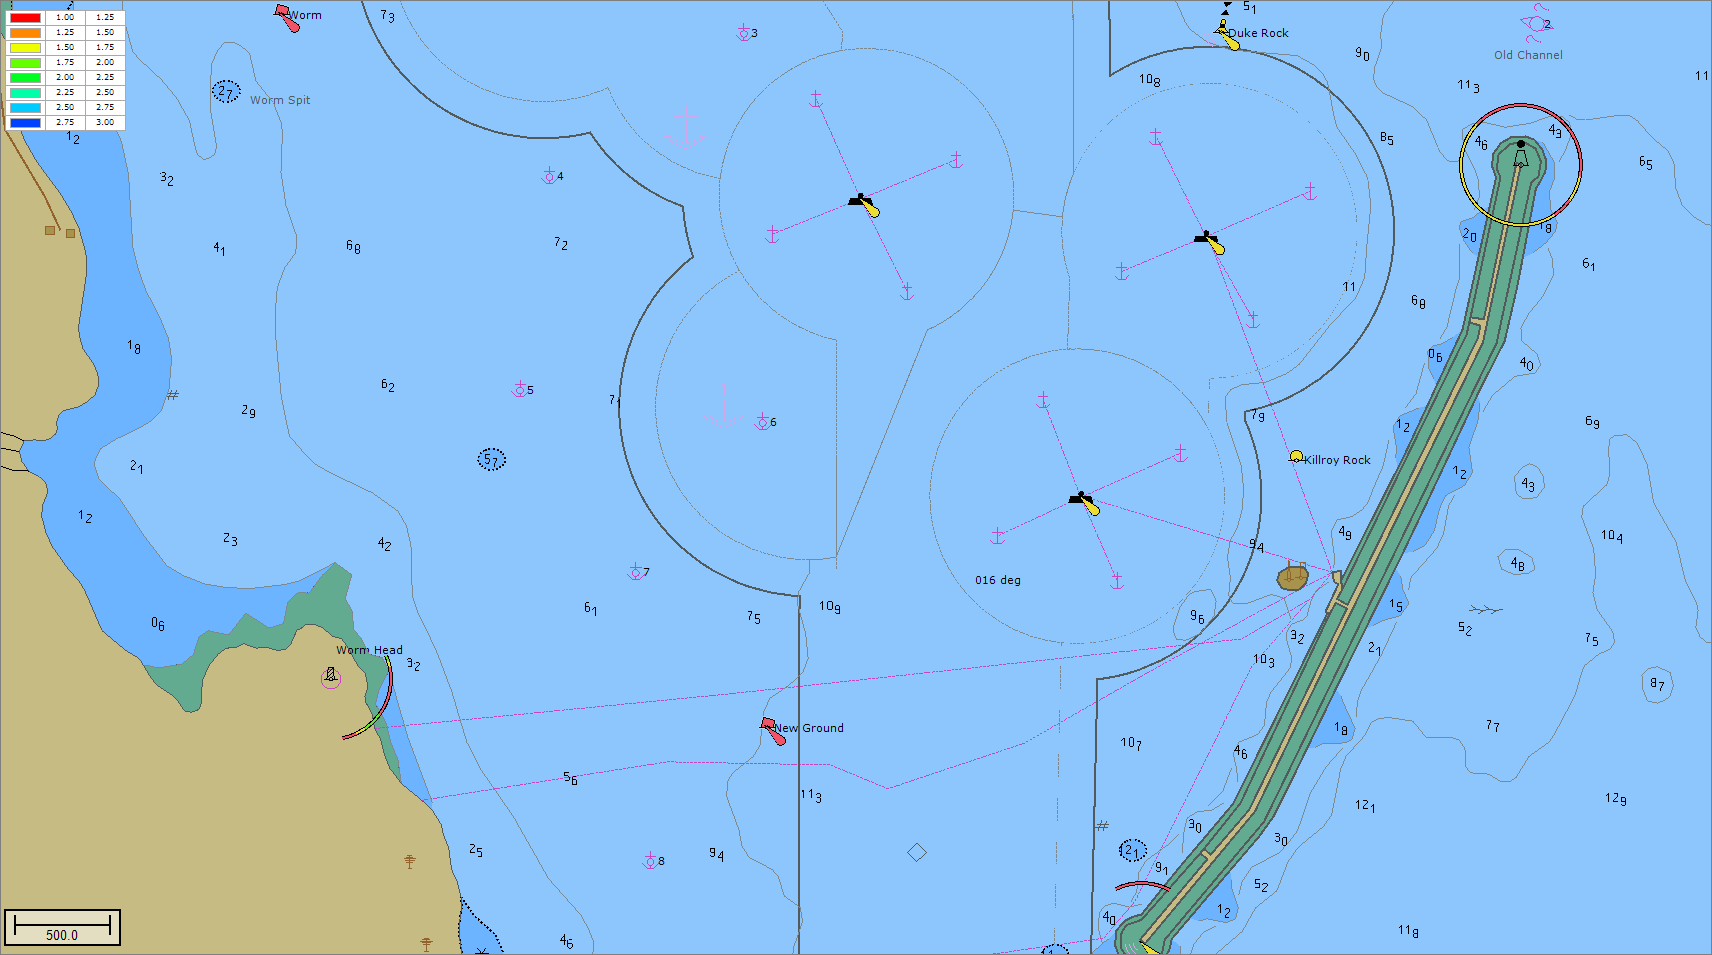
Example of an S-57 ENC imported into a Hydromagic Survey project.